There might genuinely be nothing cooler than shaking a cocktail. Scooping up your ice, measuring each ingredient out with scientific precision, then snapping the cocktail shaker together and effortlessly (albeit a bit violently) blending the whole thing with aplomb… maybe James Bond was onto something when he asked for his Vesper shaken, not stirred.
Speaking of that famous line, though, there’s still a lot of confusion in the drinking community about when, exactly, you’re supposed to shake a cocktail. We’ll break down the rationale in this guide, and give you everything you need to know about what types of shakers are out there, how to use them, and which ones will give you the most bang for your buck.
Why do I need a cocktail shaker?
As we mentioned in our mixing glasses guide, there’s a simple rule about when to shake a cocktail and when to stir: if the drink has exclusively alcoholic ingredients—that is, nothing other than spirits, liqueurs, fortified wines, bitters, and the like—you stir it, and if there’s anything else involved you shake it.
There are three main reasons for this:
Dilution
When you shake a cocktail, the ice in the shaker tends to chip, leaving little shards that melt more quickly and dilute the drink pretty significantly. In a cocktail that consists primarily of spirits and liqueurs, this sort of defeats the purpose.
You want to be able to taste the gin in your Martini, the whiskey and vermouth in your Manhattan, and the rye and Peychaud’s bitters in your Sazerac, rather than masking or diluting them too much.
That said, the small amount of dilution that comes from stirring can really open up certain spirits, taking the edge off the alcoholic burn and allowing more complex flavors and aromas to come through.
007’s tipple of choice is the exception that proves the rule, as a Vesper only contains gin, vodka, and Lillet Blanc (a fortified wine similar to vermouth). We like to think that Bond preferred them a little more watered-down so he could keep his wits about him (or, if you’re a fan of The West Wing, he’s just “ordering a weak Martini and being snooty about it”).
Drinks with fruit juices and other non-alcoholic modifiers, though, actually benefit from some dilution. Water takes the sour edge off of citrus, and makes your Daiquiris and Sidecars taste a little less like sucking on limes and lemons.
Miscibility
Miscibility, or the capacity for substances to mix together evenly, is the next major factor in deciding whether to stir or shake. Ingredients that contain alcohol all have relatively similar densities—that means that it’s extremely easy to combine them.
As Food 52 put it, “if you mix Campari, vermouth, and gin [all ingredients that contain alcohol] in a glass and let it sit for a week, every part of that mixture will be an undiluted Negroni.” Lime juice, simple syrup, and rum, though? That won’t turn into a Daiquiri on its own.
Because of this, you can stir alcohol-only drinks since they don’t require much agitation to mix. If you’re blending fruit juices, or especially egg whites into your drink, though, they’re going to need a good shaking.
Texture
Finally, we have to take the texture of your cocktail into account. When you shake a drink, a good way to think about it is that you’re introducing a whole lot of tiny air bubbles into the liquid via aeration. This generally creates a light, frothy texture, which you may not always want.
In addition to the greater dilution that comes from shaking, aeration also helps to reduce the overly-sour character of citrus juices. That combination makes for a smoother, more balanced finished product.
Aerating spirits, on the other hand, is a bit unnecessary, and can detract from some of their more subtle notes. And taking all the other factors into account, it’s pretty clear that stirring is the way to go with booze-only cocktails.
Which cocktail shaker do I get?
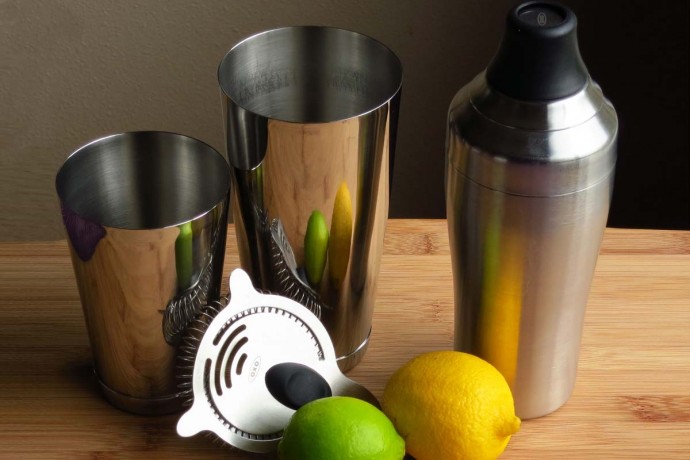
After that big chemistry lecture, here’s the fun part. There are generally two kinds of cocktail shakers you can get: a Boston shaker or a cobbler shaker.
Boston Shakers
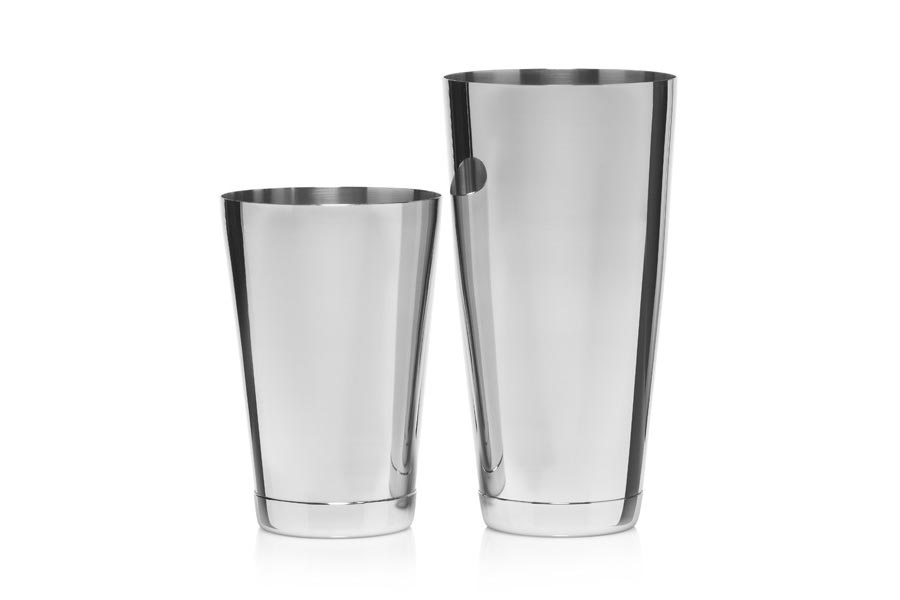
The Boston shaker consists of a metal tin (kind of like something you’d blend a milkshake in) which you couple with either a pint glass or another, smaller shaker tin. This is our tool of choice, as it’s a lot faster to use and easier to clean.

Two metal Boston shaker tins that fit together | Photo: Cocktail Kingdom
- 28-ounce Weighted Stainless Steel Cocktail Shaker ($7) – There are a lot of Boston shaker tins out there, and they’re all going to be about the same. Some might have issues sealing properly due to cheap manufacturing, but that’s rare and can be avoided simply by checking customer reviews before buying. This one is cheap and very effective, though, and you shouldn’t have to spend much more than this for a good one.
- Set of Two Koriko Weighted Shaking Tins ($17) – This is a set of two shaker tins from Cocktail Kingdom, and they’re made to fit together nicely. This is a good alternative to the tin-and-pint glass method for those who prefer an all-metal approach, but don’t necessarily want to deal with a cobbler shaker.
Cobbler Shakers
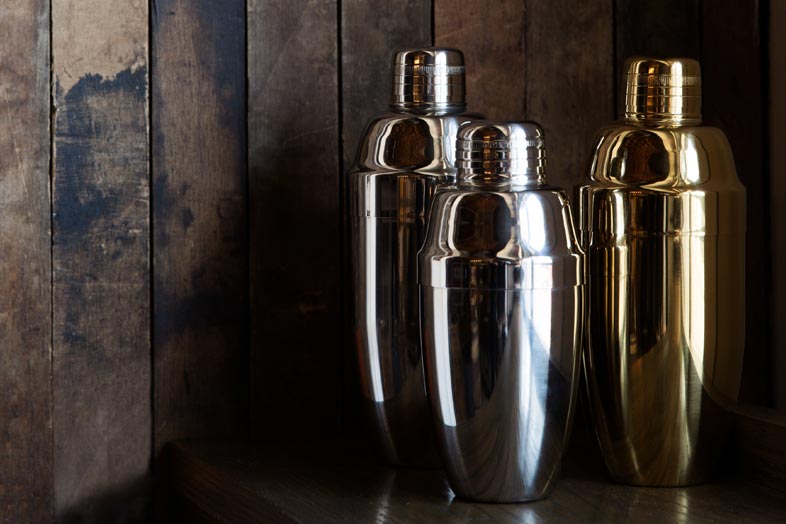
The cobbler shaker is probably what you think of when you picture a quintessential cocktail shaker. It consists of a metal tin, an internal strainer, and a cap. You place the ingredients in the tin, then seal it off with the strainer and cap and shake. After that, you simply remove the cap and strain it into your glass.

Cobbler shakers | Photo: Cocktail Kingdom
- Usagi Heavyweight Cobbler Shaker ($45) – This stainless steel Usagi cobbler shaker is definitely one of the best you can get if you want to go the fancy route. At 500ml, it only has a one-drink capacity (we like it because it’s so damn nimble), but there’s also an 800ml, two-drink model here.
- Usagi Gold-Plated Heavyweight Cobbler Shaker ($79) – As we’ve come to expect, Cocktail Kingdom is the pinnacle of quality, elegance, and exorbitantly high prices. And we figured if you’re going for looks rather than functionality (that’s not to say this is a bad product, it’s just unnecessary), you might as well go all-out.
The biggest problem we’ve encountered with cobbler shakers is that they tend to get stuck shut if you don’t rinse them immediately after making your drink. The sugar from fruit juices or syrups dries around the seal and more or less glues the damn thing together, and we’ve spent enough nights wrestling with them that we can’t recommend getting one unless you know you’re going to be diligent about washing it.
French Shakers
There’s also the French shaker (also known as a Parisian shaker), which is a rarer style that’s sort of a hybrid of the two. It consists of two parts: a lower half that’s similar to a Boston or cobbler shaker tin, and a tapered top half that fits into it snugly. Like a Boston shaker, it requires the use of a separate strainer. Honestly, these aren’t common enough that we can give a great recommendation, but Cocktail Kingdom does offer a Parisian shaker for the ridiculously high price of $63.
What if I’m broke?
Unfortunately, there aren’t a lot of options when it comes to improvising a cocktail shaker. Unless you have a metal tin that’s about the same volume, such as for an immersion blender or other kitchen implement, you’re most likely just going to make a huge mess if you try anything too creative.
That said, using a Mason jar or other sealable container will work in a pinch. Just add your ingredients to the jar with ice, screw the lid on, and shake it to high heaven. Ideally, use one that’s big enough to fit a Hawthorne strainer over the mouth.
Some sites recommend using a travel coffee mug, but unless you’re making something that’s supposed to taste like month-old coffee stains, we can’t recommend that method. And really, when you can find a real shaker tin for seven bucks, you might as well just bite the bullet and get it.
Photo: Booze Nerds


