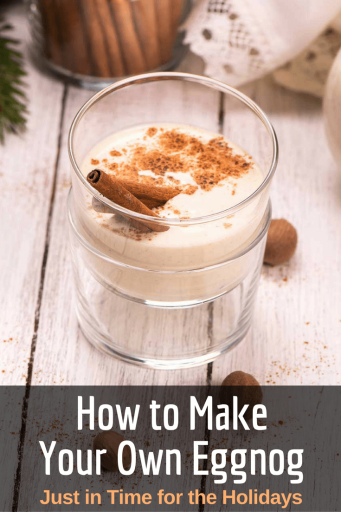
Eggnog is a polarizing drink. Some people love it, and plenty more (probably thanks to a few too many bargain cartons from the grocery store) can’t stand the stuff. It’s unlike pretty much any other cocktail we have throughout the year, so there also may be an element of unfamiliarity at play, but if you’re at all on the fence the best advice we can give is to make some yourself.
Why Homemade?
The benefits of homemade eggnog are pretty significant. Too often, the store-bought stuff is either too thick and custardy (gross) or watery and filled with so many preservatives it’s barely palatable even with a fifth of rum in it.
Luckily, it’s not nearly as difficult to make as you might think. Most of the ingredients are things you should have around your kitchen anyway, and the rest are pretty inexpensive: rum, brandy, eggs, whole milk, heavy cream, superfine sugar, and nutmeg.
We’ve scoured old cocktail books and, of course, plumbed the darkest corners of the internet in hopes of finding a recipe that stood out from the rest—as usual, famed Portland barman Jeffrey Morgenthaler came through in the clutch with one that’s quick, easy, and absolutely delicious.
Choosing Your Spirits
For the record, there’s really no right way to make eggnog (though there are certainly plenty of wrong ways). Recipes throughout the centuries have called for rum, brandy, whiskey, and even tequila, but in our opinion the combination of rum and brandy makes for the best entry-level drink.
This really isn’t a cocktail where you need to go all-out on the spirits, though. We used a combination of Sailor Jerry Spiced Rum and E&J V.S. Brandy, neither of which are exactly top-shelf booze, but anything much fancier than that is going to get buried under the rest of the heavy ingredients.
All in the Blender
The key to making this eggnog recipe is to use a regular, consumer-grade blender, not one of those fancy high-powered ones like Vitamix or Blendtec—apparently, the heat they throw out can cook the eggs a bit and turn the whole thing into a chunky mess. We used a Waring Pro to make ours, which worked fine, but any comparable model will do the trick (the more granular the speed controls, the better).
You want to make sure you add each ingredient slowly, while the blender is running. This ensures that they mix together evenly and smoothly, but it also requires that you keep the blender at a low enough speed that you can run it with the lid off.
Finally, we found that there was nonetheless a bit of an issue with the dairy curdling and forming a layer of chunky foam on top. It doesn’t end up being too big of a deal, though, since you can easily whisk the mixture together before serving and pour it through a mesh strainer into your chilled glass, punch bowl, or, you know, right into your mouth.


